
If you’ve just unwrapped your Cricut machine and want to create your first project, then this guide is perfect for you. It will teach you ‘how to use a Cricut machine‘ like a pro by making a custom T-shirt using iron-on vinyl. After reading this beginner’s guide, you will definitely have the confidence to begin your first project.
If you’re a new Cricut beginner and want to learn something easy to start your crafting journey. Let me tell you, creating T-shirts is one of the easiest projects you can start with. This blog will cover everything you need to know before making your own personalized T-shirts. It provides you with detailed information on how to create designs in Design Space, cut iron-on vinyl, weed out the vinyl, and apply it to your shirt using a heat press.
Let’s get started!
Essential Materials for Making a T-Shirt Using Cricut
Make sure you have the following essentials before you start making your T-shirt:
- Cricut cutting machine
- Cricut EasyPress and EasyPress mat
- Blank T-shirt
- Brayer tool (Optional)
- Cutting mat (StandardGrip)
- White iron-on vinyl (HTV)
- Fabric measuring tape
- Weeding tool
- Teflon protective sheet
How to Create a Custom T-shirt With a Cricut Machine
This project will teach you how to use a Cricut machine. Now, proceed with the following steps:
Step 1: Pre-wash Your Fabric
Pre-washing helps shrink the fabric before applying your design, reducing the risk of the garment shrinking after the design is applied, which can cause the HTV to wrinkle or peel. It helps to create a cleaner surface for the HTV to adhere to, resulting in a stronger and more durable bond. It will provide a more consistent texture, which can help ensure a more even and professional-looking design application.
Important Note: It’s recommended to use shirts that are 100% cotton, polyester, or a blend of both.
Step 2: Measure Your T-Shirt
Measuring your T-shirt before creating a design with your machine ensures your design will fit appropriately and look well-balanced on the finished shirt. It will help you strategically plan the placement of your design, ensuring it is centered on the garment. It also minimizes the risk of errors during design creation, such as cutting the vinyl too large or too small, which can waste materials and require redesign.
Step 3: Create a Design in the Cricut Software
- Open the Cricut Design Space app and click “New Project” on the home page.
- On the left-hand navigation bar, you’ll see an option for “Text.” After clicking on it, a text box will show up on your screen, allowing you to add text.
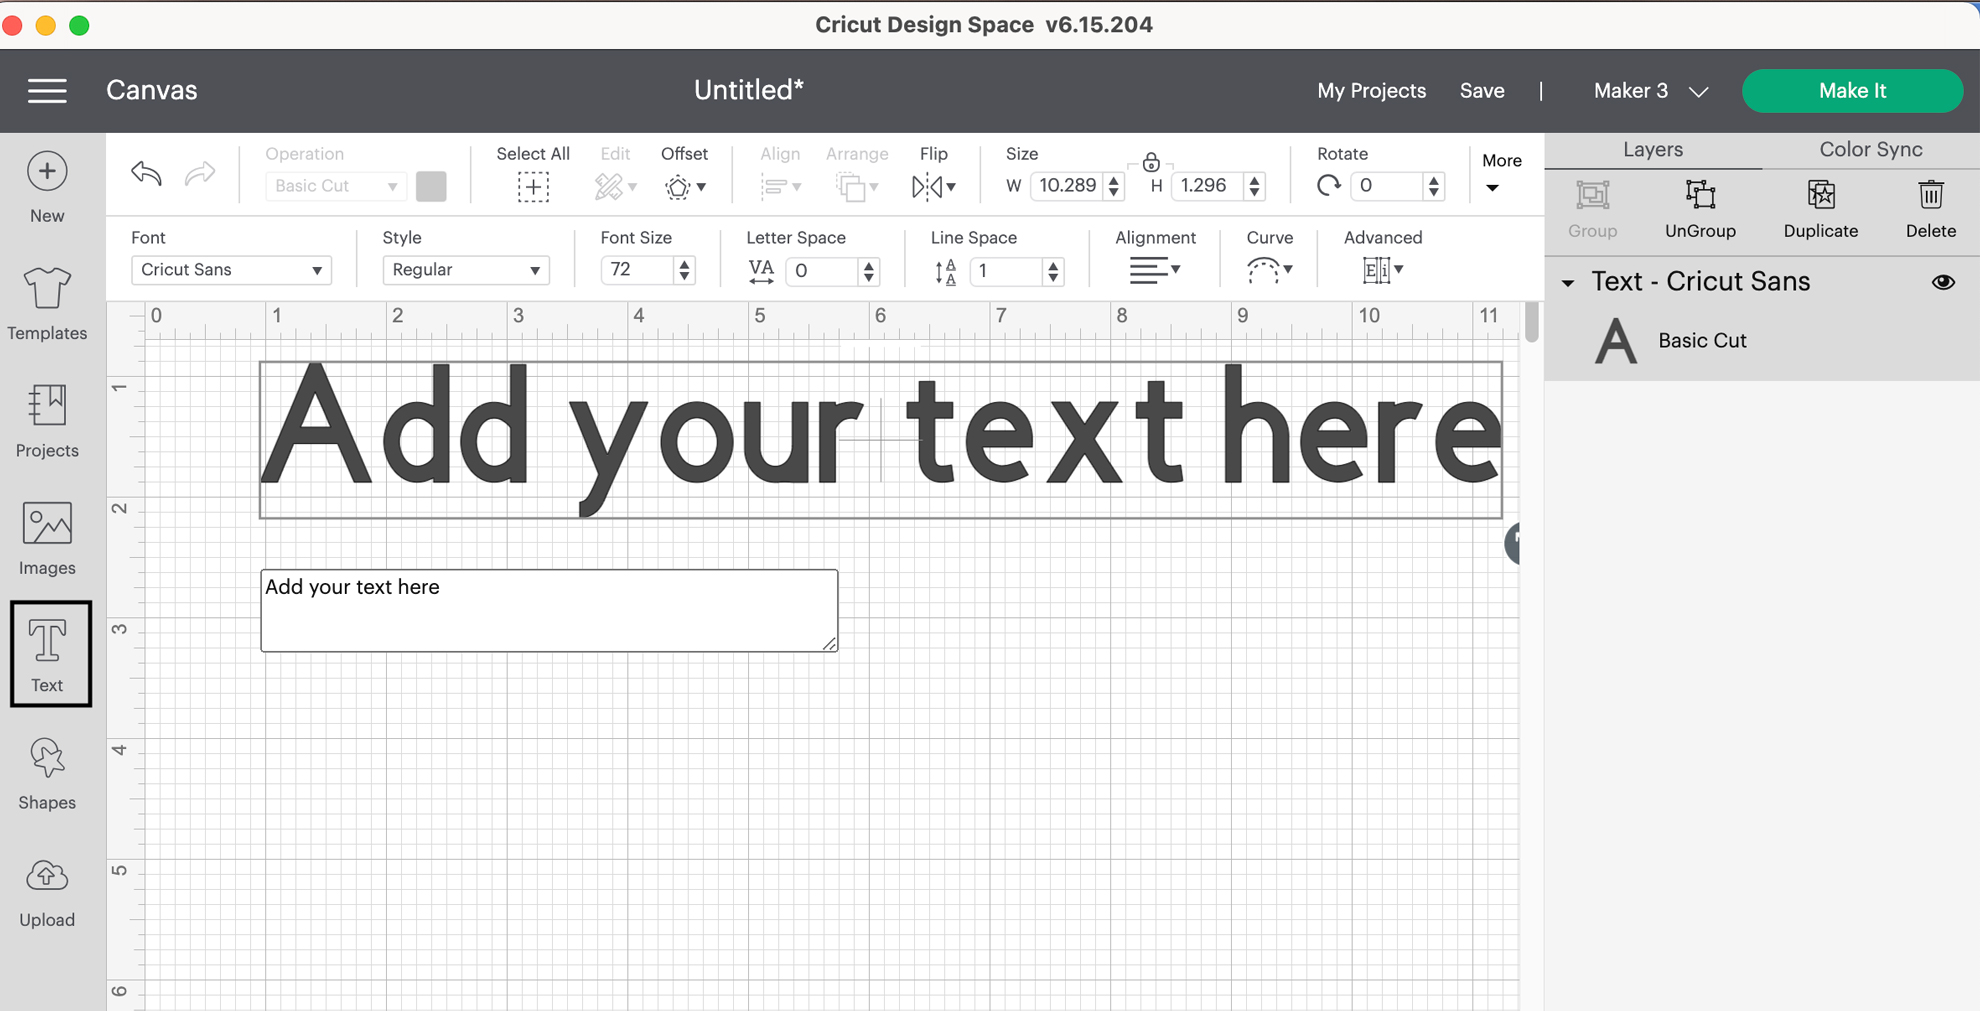
- Click the dropdown menu to change the font. You will get automatic access to hundreds of fonts available in the Design Space library. You can choose whatever you want.
Step 4: Prepare the Design for Cutting
Consider using T-shirt templates in Design Space to help with sizing.
- Resize your design to fit your T-shirt.
- Choose the specific material for your project (e.g., Iron-On for this project).
- Select the entire design and click Attach.
- For iron-on, ensure you mirror the image, as we are using heat-transfer vinyl. Toggle the Mirror switch on, as shown in the image below. Select Continue to complete the cut.
- If you forget to mirror, the machine will prompt you when you choose a heat-transfer material setting.
- Then, select Edit, mirror your design, and click Done.
Step 5: You’re Ready to Cut
Now, it’s time to place the HTV on your StandardGrip mat. Ensure the shiny side is facing down. You can use a brayer tool to ensure the material is well adhered to the mat.
Press the arrow button on your machine. If it starts blinking, then it means the machine is ready to load the mat. After the mat is loaded and the machine is ready to cut, press the “Go” button. The machine will then begin cutting your design.
Step 6: Unload Mat and Remove Vinyl
Once you’re done with cutting, the machine will signal that the project is finished, and you can then unload the mat by pressing the Load button. To prevent heat transfer vinyl (HTV) from curling when removing it from the mat, flip your mat over and gently peel the HTV away from the mat.
If you have trouble peeling the mat away, you can use a plastic scraper or other tool to help lift the edges of the mat away from the HTV.
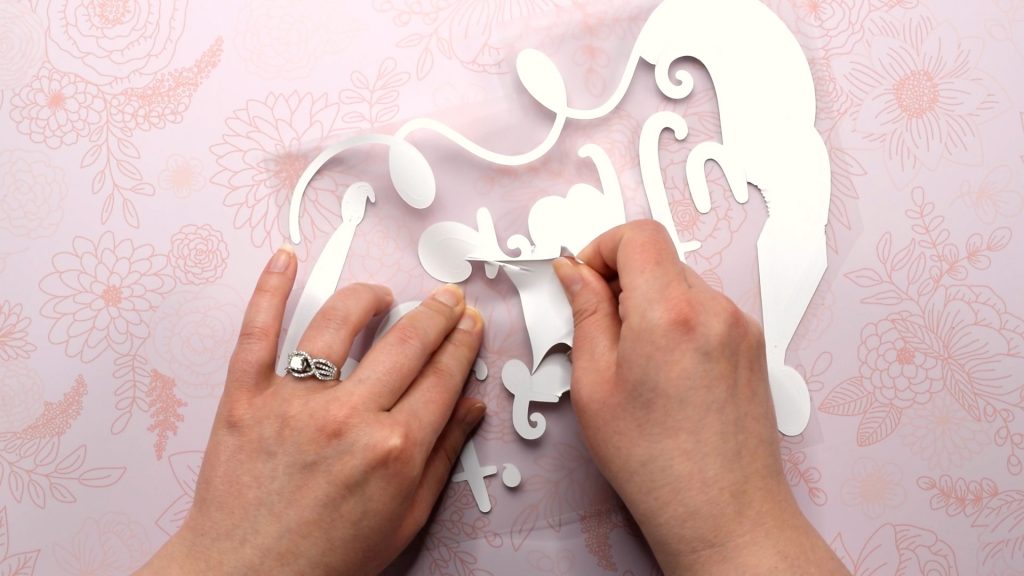
Step 7: Weed Out the Design
Consider using a weeding tool to remove small details. Weeding soon after cutting allows the adhesive to flow back, potentially making the design lift with the excess vinyl. When peeling away the excess, start at an angle to avoid tearing the design.
Weeding out small letters and details requires patience. Take your time to ensure the design remains intact. First, peel off the bulk of the excess vinyl, then return to detailing the smaller pieces. Double-check your design to ensure you haven’t missed any small areas when weeding.
Step 8: Set the Time & Temperature on Your Machine
If you want to get accurate measurements of time and temperature, go to cricut.com/en/heatguide and select your specific machine and material. For this project, you will be choosing Everyday Iron-on, which is close enough to the HTV type.
Click the Apply button when you are done. On the next screen, the heat guide will recommend to you the accurate time and temperature, along with a quick guide on how to apply the vinyl. Now, set the recommended temperature and time.

Step 9: Place Your Design
Fold your shirt in half and then apply heat. Doing this will create a crease line on the center, allowing you to identify the true center of the shirt.
Now, gently crease the plastic backing sheet so that you can line it up in the center and place it on the shirt based on your preference.

Step 10: Apply Heat
Now, it’s time to place the protective sheet on your shirt, covering the entire design. Then, press your machine on the entire design. If your machine doesn’t cover the entire design, you can heat your design in sections or quarters for the specified time.
Step 11: Remove the Plastic Sheet
While it’s warm, you have to peel off the plastic sheet from the design. Ensure that no part of the design is not adhering to the shirt; simply place the sheet back and apply heat again to that particular area until it adheres.

And that’s it! You’re done with your first project.

In Closure
Now that you have learned how to use a Cricut machine with this guide, I know you will be excited to create your own project. The best way to learn is through practice, so you need to familiarize yourself with plenty of other things to learn more about the extra capabilities of Cricut machines, which you can learn by watching tutorial videos and guides.
Learn about different types of tools, various materials, cutting mats, and the best vinyl to use. Additionally, explore how to operate Cricut Design Space, load a mat, and connect your crafting machine via Bluetooth or USB.